InvisOutlet Aura

Keep a little light on after the lamp goes off.

An in-wall smart outlet that lets you switch off the lamp from bed, keep your phone charging, and leave a soft glow near the floor.

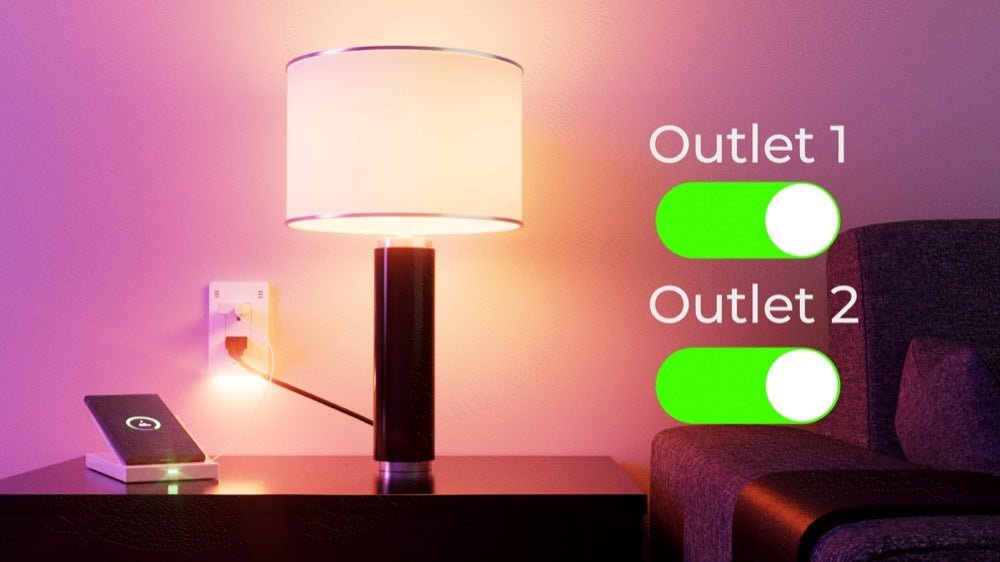
InvisOutlet Aura casting pink and violet light onto a textured wall

InvisOutlet Aura

InvisOutlet Aura powering a lamp and phone charger with both outlets on

Turn off the lamp without getting out of bed.

Control either outlet in InvisHome without changing the other.1

Touch and smart-home controls

Use touch control for direct switching. Configure Magic Touch separately to trigger routines through a compatible smart-home system.

Find your way without turning on the main lights.

The built-in nightlight casts light near the floor and can adjust to the room's brightness.2

How automatic brightness works

Enable Adaptive Nightlight in InvisHome and set your preferred brightness range.

See InvisOutlet Aura adjust to the room
Translation missing: en.aura_lp.daylight_alt Translation missing: en.aura_lp.after_dark_alt

Add a soft glow beside the bed.

Choose the color and brightness you prefer, with both outlets available.
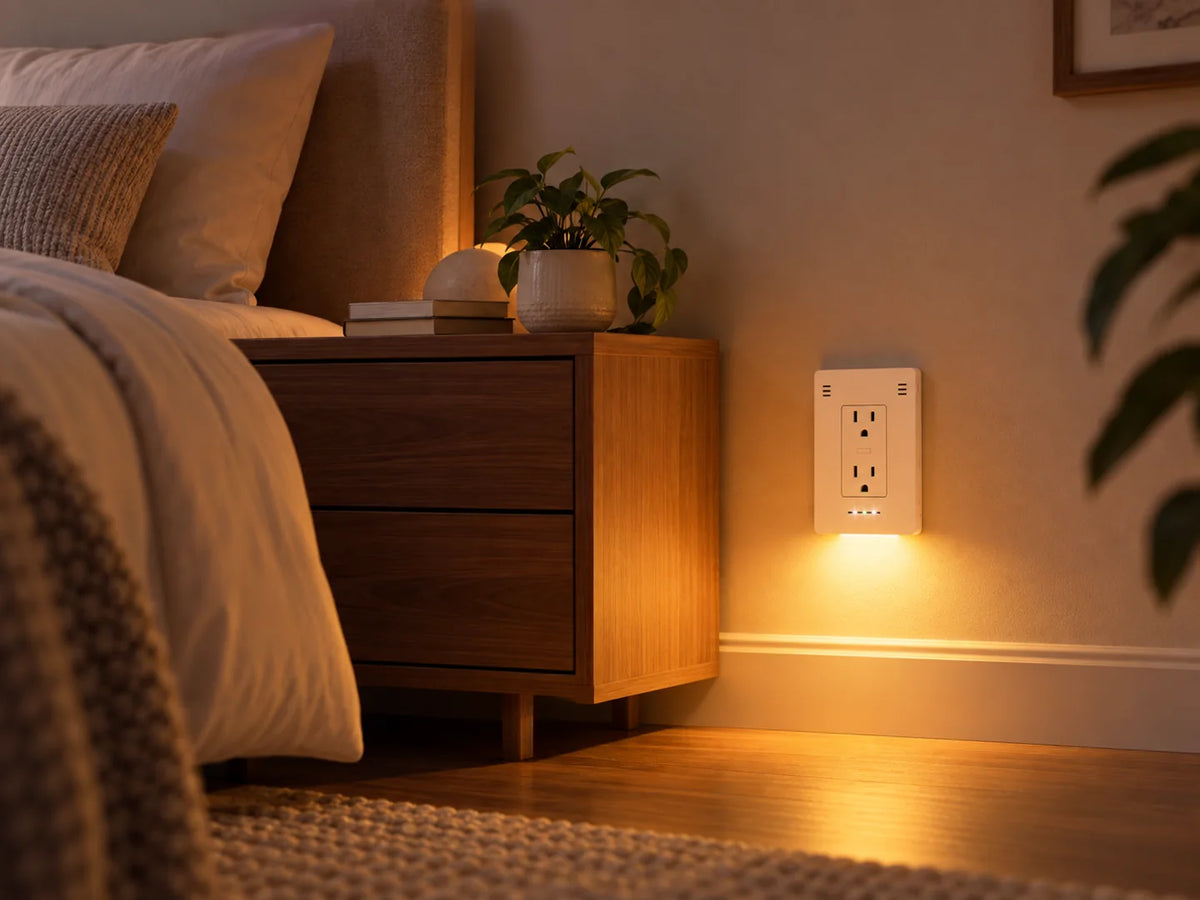
InvisOutlet Aura lighting the same bedroom in warm
InvisHome color-light controls for InvisOutlet Aura, with brightness and color selection

Choose your color in InvisHome.

Adjust brightness, pick a color, or open color and effect details.

Try an animated light effect.

Choose Rainbow, Breathing, Strobing, Starry Night, and more in InvisHome. Adjust brightness and speed.

Tamper resistance and Child Lock.

InvisOutlet Pro tamper-resistant receptacle and InvisHome Child Lock controls, used as a reference for InvisOutlet Aura
InvisOutlet Pro shown. InvisHome appearance may vary for InvisOutlet Aura.

Tamper-resistant receptacles

Built-in shutters help block foreign objects from the outlet openings.3

Child Lock

Prevent accidental switching from touch and button controls. Child Lock does not disconnect power. App control remains available.3

See when the laundry is done.

Set InvisOutlet Aura to turn blue when the laundry finishes.4
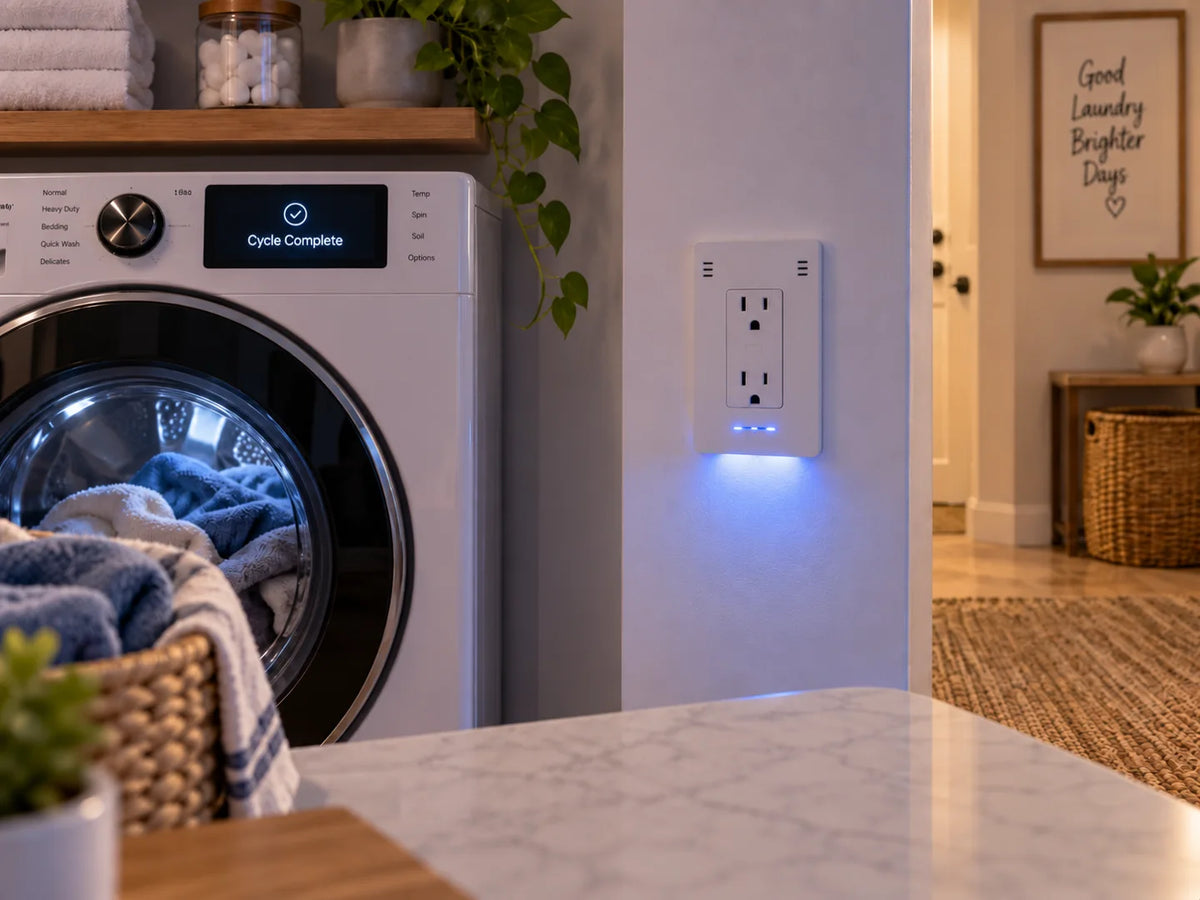
InvisOutlet Aura glows blue beside a washing machine displaying Cycle Complete

Check installation for your home.

InvisOutlet Aura replaces a compatible in-wall outlet. Pre-wired connectors simplify the wiring connections.5

Translation missing: en.aura_lp.app_installation

Neutral wire, suitable wall-box space, and electrical installation required.

Read the installation guide ↗
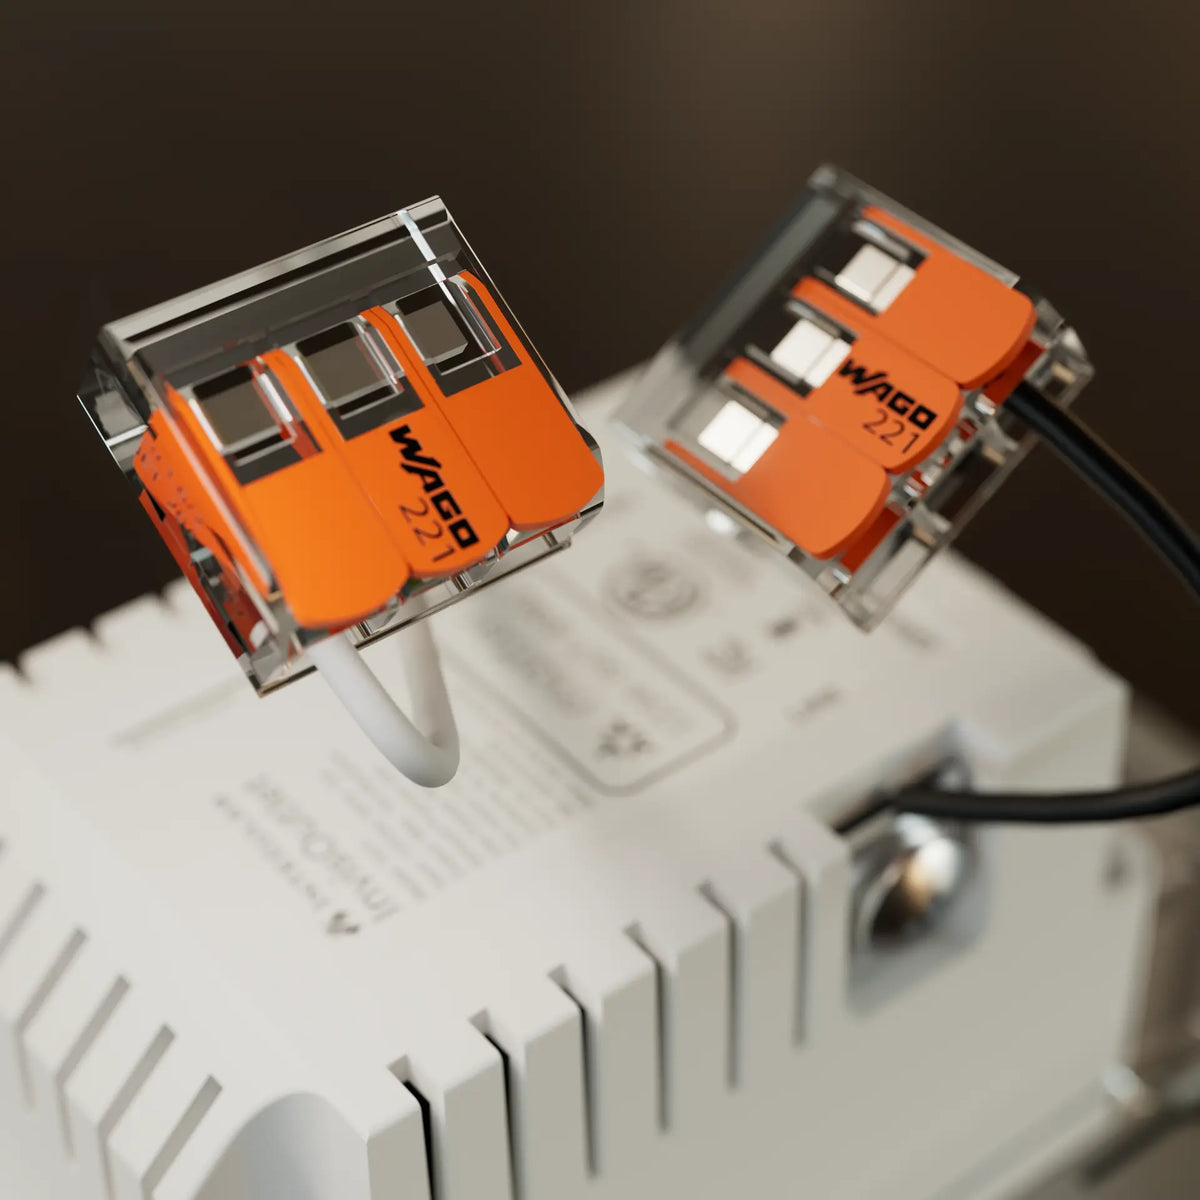
Pre-wired WAGO connectors for InvisOutlet Aura installation
Technical specifications

Dimensions

  • In-wall outlet: 70.5 × 44 × 34.8 mm (H × W × D).
  • Cover plate: 120 × 75 × 8.9 mm (H × W × D).

Outlet controls

  • Two independently controlled receptacles.
  • Switch either receptacle without changing the other.

Lighting & sensing

  • RGB lighting.
  • Ambient-light sensor for adaptive lighting.

App & connectivity

  • Pair through InvisHome or a compatible Matter controller.
  • Available controls and setup requirements vary by platform. (Product note 1)

Installation & environment

  • Neutral wire required.
  • Minimum internal wall-box dimensions: 75 × 46 × 80 mm (H × W × D).
  • Indoor use only.
  • Follow the installation guide for wiring and fit.

What’s in the box

  • InvisOutlet Aura in-wall smart outlet.
  • Matching cover plate.
  • Pre-wired WAGO connectors.
  • Setup instructions.
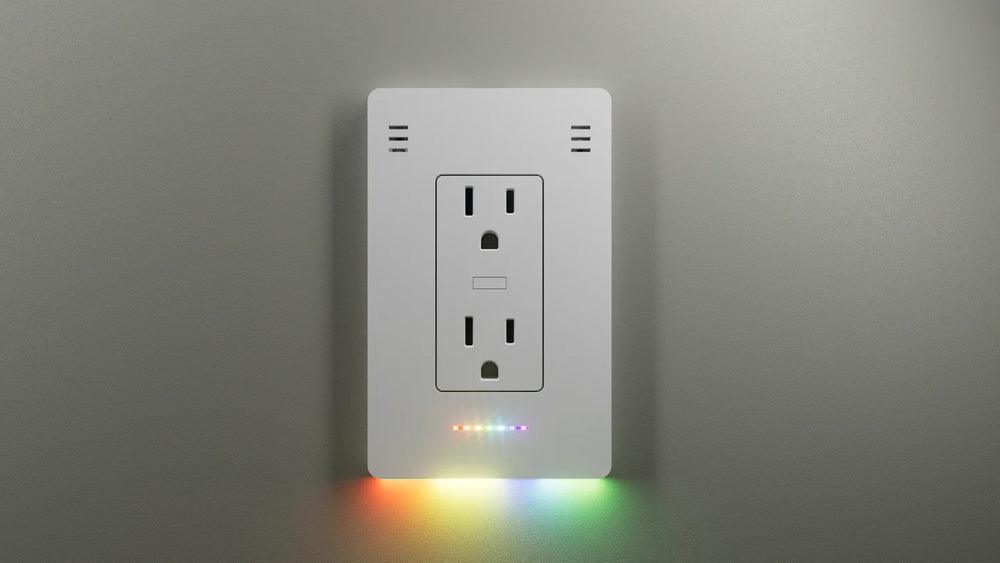
InvisOutlet Aura with multicolor lighting

Add InvisOutlet Aura to your home.

Buy InvisOutlet Aura

Product notes

  1. Available controls and setup requirements vary by app and smart-home platform. Check the setup guide for your system. ↩
  2. Enable Adaptive Nightlight in InvisHome. Brightness follows the configured range and override settings. ↩
  3. Tamper resistance and Child Lock do not replace supervision or electrical safety precautions. Follow the in-app unlocking instructions. ↩
  4. Requires a compatible smart-home system and a configured automation. The triggering appliance, sensor, or service supplies the event through a compatible integration. The automation must be configured separately. ↩
  5. Installation requires electrical work. Follow the installation guide and local requirements. Use a qualified electrician when required or unsure. ↩